




Welcome, Tenno
Warframe is big. This guide is your spoiler-free starting point.
You are a Tenno — an ancient warrior who pilots a Warframe. Ordis, your onboard Cephalon, and Lotus, the mysterious voice on comms, will guide you through the first hours.
Warframe is free-to-play and grows in layers: first combat and mods, then warframe crafting, then open-world missions, then endgame systems. This site covers the layers in the order you'll meet them.
Warframe has a famous story twist. We won't name future quests or locked systems — they show up blurred 🔒 until you complete the matching quest and turn on "Show Spoilers" in the relevant site sections.
If you haven't installed the game yet, do it now — this guide works best with the game running alongside. Set aside 30–45 free minutes to finish Awakening + the first mission of Vor's Prize.
Your first hour
Awakening → warframe pick → Vor's Prize. What to expect and what each step unlocks.
The game opens with you in a stasis chamber. Ordis wakes you up, you fight your first Grineer, and before reaching your Orbiter (the ship) you pick one of three starter warframes. After that, a mission chain called Vor's Prize progressively unlocks the game's systems.
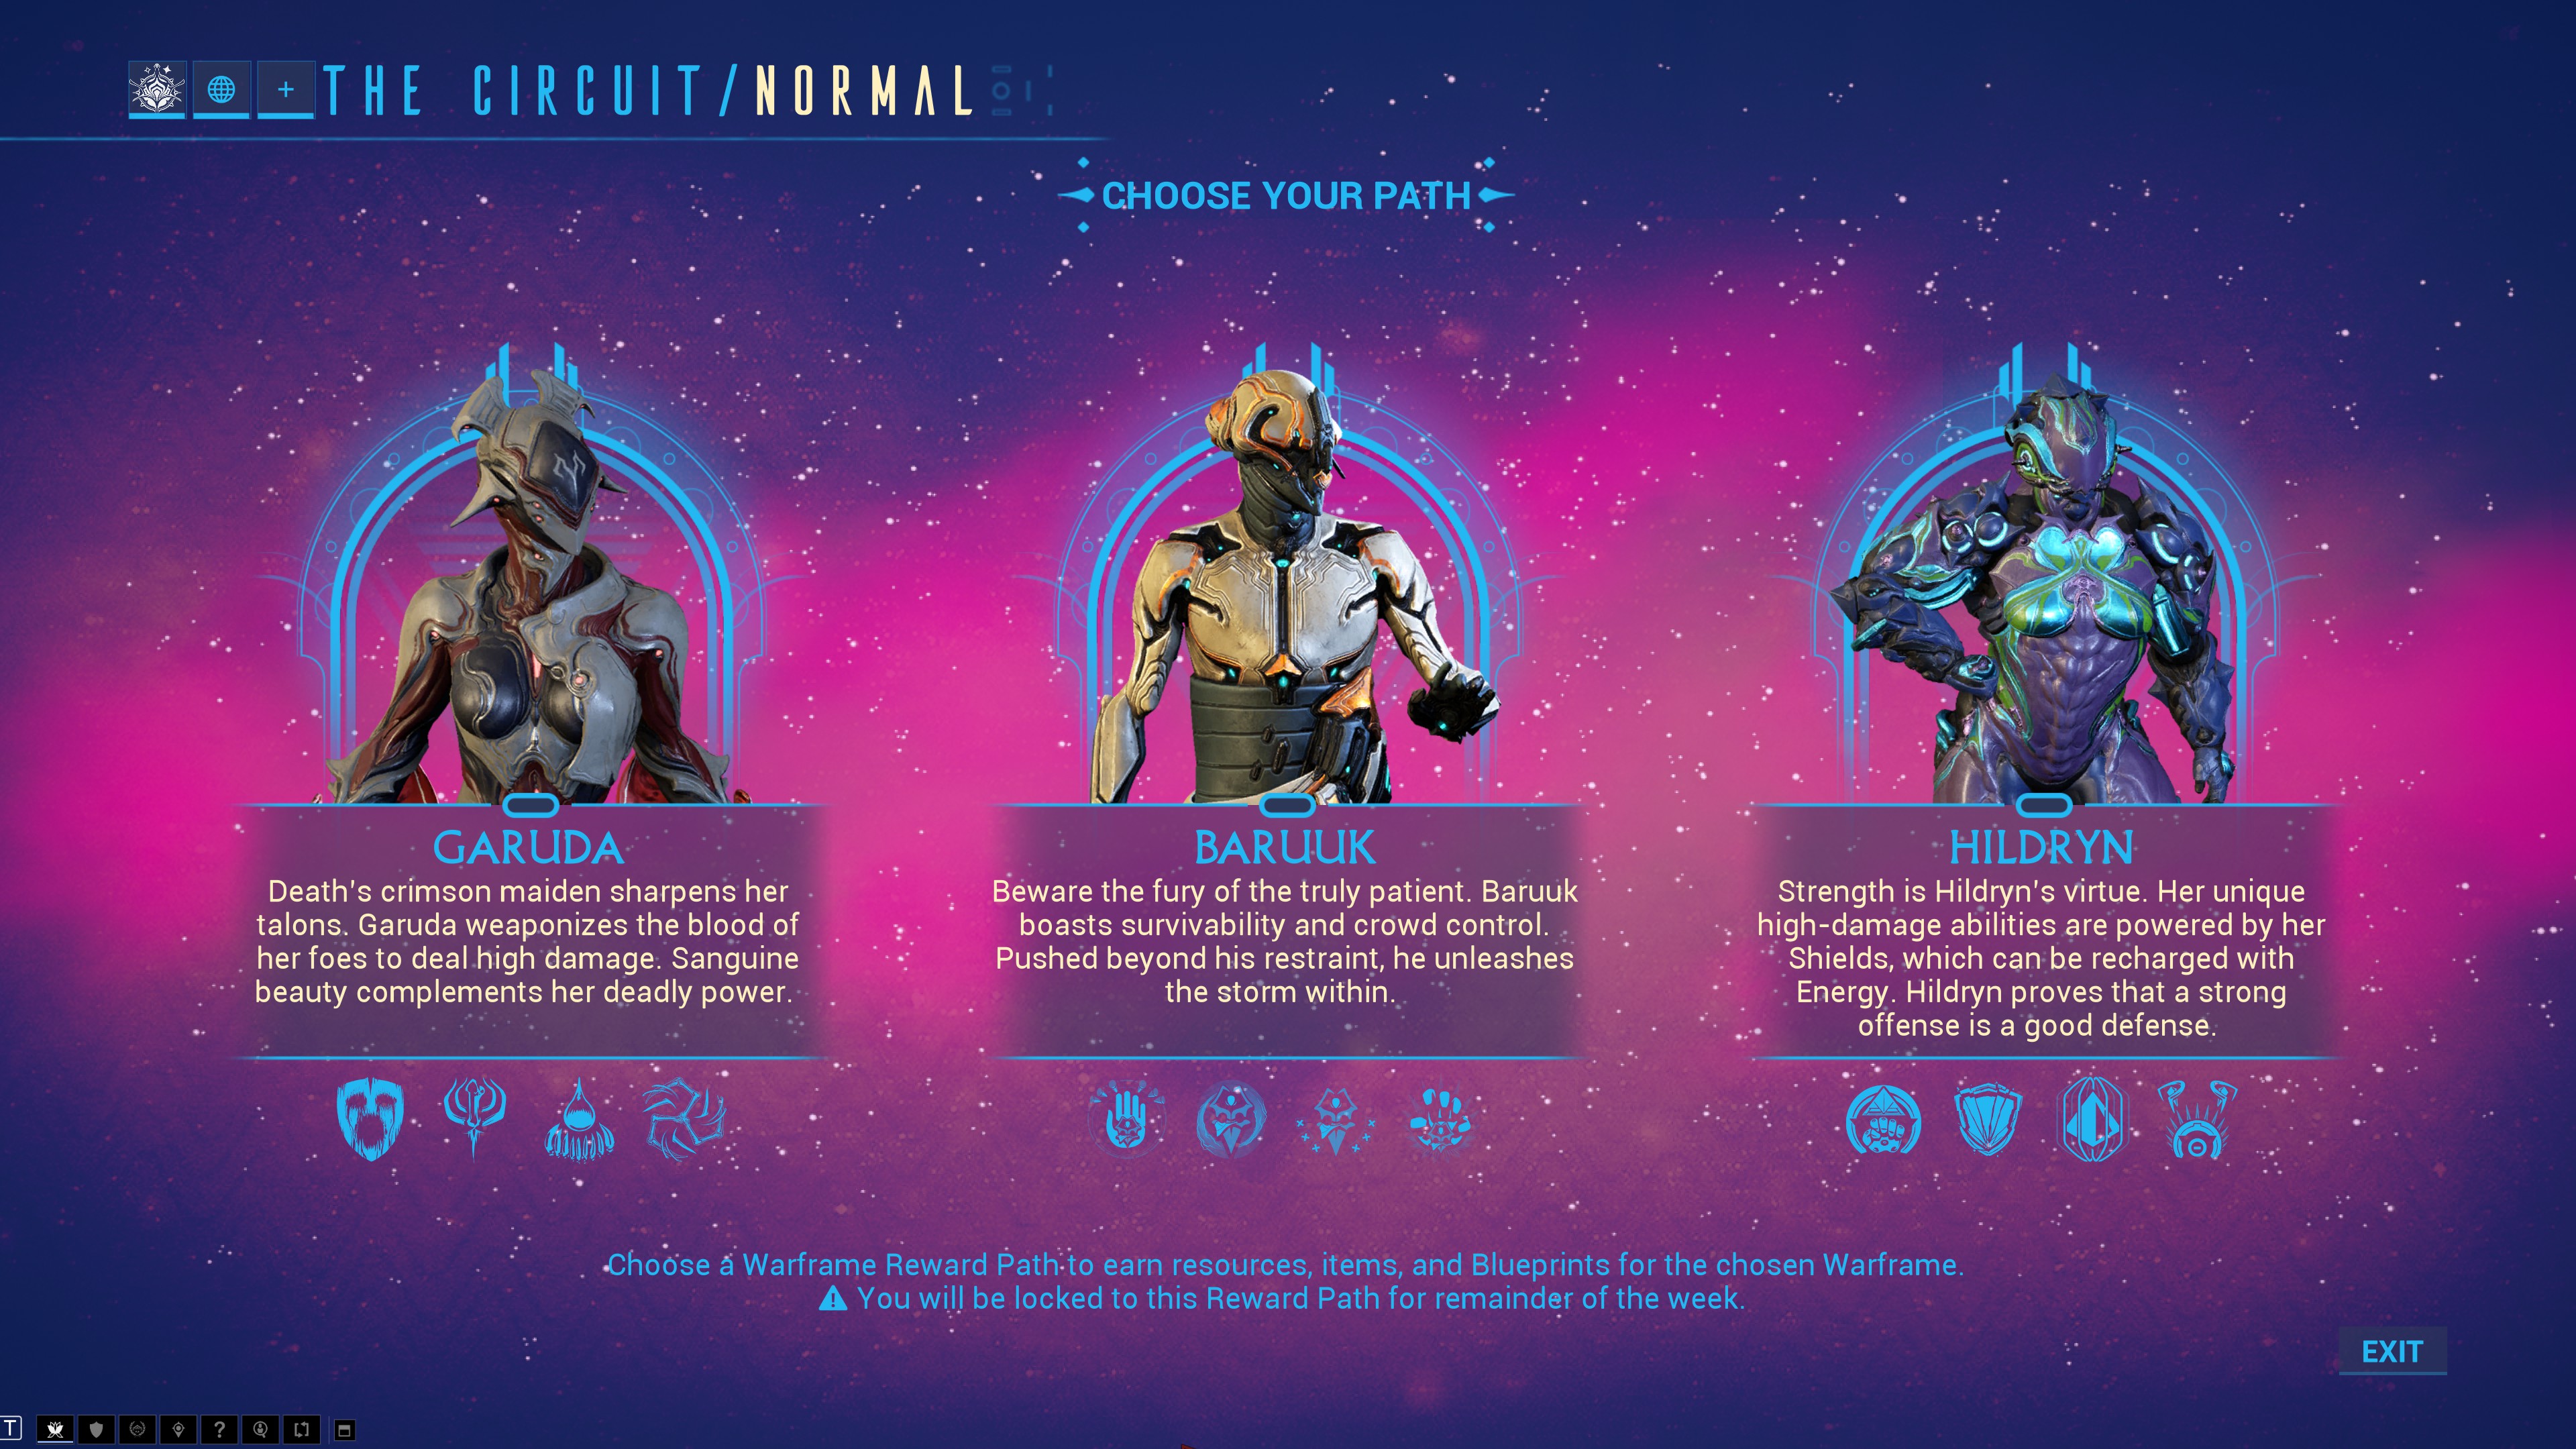
Starter warframe pick
Sword warrior with Slash Dash and Exalted Blade. Straightforward kit, scales well, ideal if you want to learn melee combat.
Bends magnetism to pull enemies and strip shields. A great pick against Corpus (the shield faction).
Fast, buffs allies with Speed, creates electric shields, and hits crowds with Discharge. Also great mid-game.
You can get all three later — the starter pick just decides which warframe you begin with. No pressure, pick the one whose look you like most.
Vor's Prize — 6 missions, ~40 minutes
When Vor's Prize wraps up, start the next Earth quest (Once Awake) right away. Main quests unlock systems — never skip the order.
HUD anatomy
Four screen quadrants + what each symbol means.
Warframe's HUD packs information into every corner. After 1-2 hours you'll tune it out — but at the start it's worth knowing what everything means.
- White triangle: you and your facing direction
- Yellow dot: current objective
- Green dot: extraction
- Red dot: enemy (needs a radar aura)
- Green circle: ally
- Below: objective progress (enemies left, target HP, timer…)
- Blue bar: shields (regenerate after ~3s without damage)
- Red bar: health (does NOT regen without a mod)
- Companion appears right below with its own bars
- Active buffs and status effects show on the left
- Press Z to see the squad
- Ammo counter: magazine / reserve
- Melee: Combo Counter (multiplies Heavy Attack)
- 4 ability icons → keys 1/2/3/4
- Light-blue bar: Energy (ability cost)
- Dots below the crosshair: ability ready / not
- When aiming at an enemy: HP bar above them
- Segments: blue = shield, yellow = armor, red = health
- Red arcs around the crosshair: incoming damage direction
- Damage numbers in different colors = status types
The HUD gets busy fast once you have multiple buff mods, status auras and an active squad. It's normal — you can shrink the scale under Options → HUD.
Movement, combat, modding… (8 sections to go)
Only the first 3 are populated in this mockup for layout approval. The rest will follow the same pattern.